
// ADVENTURE TRAVEL & DECENTRALIZED EXPLORATION
Rugged Action Camera Mounting 4x4: Built for the Trail
Shopping for rugged action camera mounting 4x4 equipment starts with a less glamorous question than image quality: what will keep the camera attached when the vehicle hits corrugations? A useful setup needs a secure attachment point, a short load path and a secondary tether. The best mount is not necessarily the largest; it is the one matched to your vehicle, terrain and filming position.
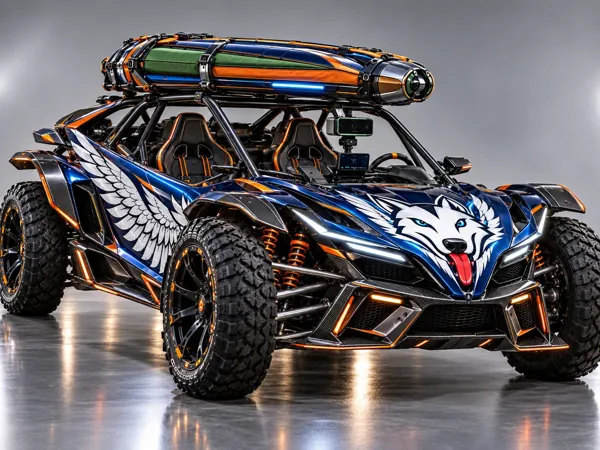
For travelers combining trail driving with rooftop shelter, placement gets more complicated. Cameras must coexist with rack hardware, opening panels and deployment envelopes. That makes mounting part of the mobile-living layout—not an accessory bolted on afterward. Here is how to choose hardware that captures the journey without getting in the way of camp.
Choosing rugged action camera mounting 4x4 Hardware
Start with the attachment surface. A correctly sized clamp on a rigid rack crossbar is usually a stronger starting point for repeated rough-road use than a long articulated arm. Check the clamp’s specified tube diameter, tightening method and camera interface. Rubber inserts can protect finishes and improve grip, but soft padding can also creep under sustained vibration.
Suction mounts offer flexible angles on clean, smooth, nonporous surfaces, but dust, surface texture and temperature changes complicate their use. Magnetic mounts require suitable ferrous panels; they will not attach to aluminum or composite bodywork. Adhesive bases need compatible surfaces and the manufacturer’s full curing time. None of these attachment methods eliminates the need for inspection.
Stable Footage Begins Below the Camera
Keep the camera close to its mounting point. Every extension increases leverage, giving trail impacts more opportunity to twist joints or loosen fasteners. A compact, low-profile assembly usually beats a dramatic cantilever for sustained travel. Use manufacturer-specified torque and compatible locking hardware; overtightening can damage plastic interfaces without making the system more secure.
Image stabilization cannot fully rescue a flexible mount. High-frequency vibration may produce waviness or blur even when the horizon looks steady. Test a short clip on representative terrain before committing to a long route. If footage deteriorates, shorten the arm or move to a stiffer attachment point before adding isolation components, which can introduce their own movement.
Pick Angles That Survive the Route
A forward-facing roof position gives context but exposes the camera to branches and increases overall vehicle height. A lower body position emphasizes wheel movement while collecting more mud, stones and spray. Inside the cabin, a camera is easier to protect, although reflections and dirty glass reduce clarity. Choose the least exposed position that delivers the shot you actually need.
Attach a short secondary tether to a separate secure point where practical, keeping it clear of wheels, steering, hot exhausts and moving hardware. Route power cables with strain relief and enough slack for intended movement—not loose loops. A camera’s waterproof rating may not apply when its charging door is open. Stop safely before adjusting equipment, and check local rules on visibility and external projections.
Leave Room for the Roof to Become Home
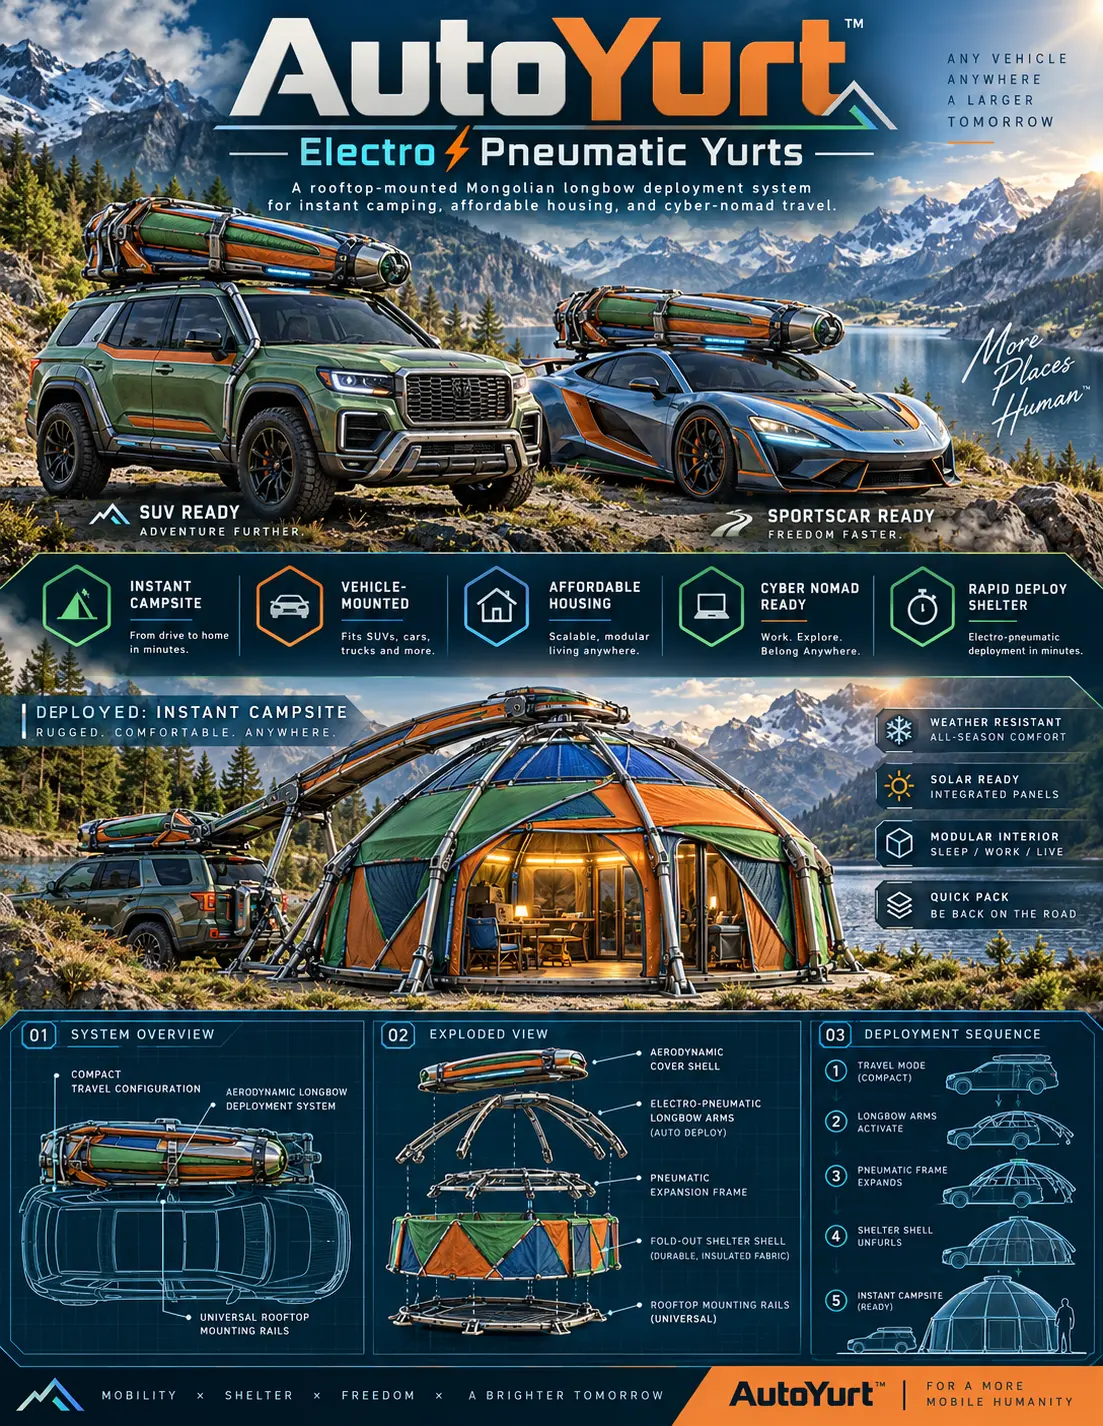
With a rooftop shelter, evaluate both travel and deployed configurations. A camera can clear the packed housing yet obstruct an opening arm, fabric shell or access route at camp. Keep mounts off moving shelter components unless expressly approved for that use. Avoid drilling into housings or clamping to seals, solar panels and aerodynamic covers.
The WOWLS! AutoYurt concept brings this packaging challenge into focus: a proposed low-profile longbow housing, electro-pneumatic deployment and insulated fabric enclosure, with exterior solar panels intended for off-grid device power. It is a concept, not an available shelter system. Explore /yurt and register interest through /contact; camera mounting would need to respect the eventual system’s approved attachment points and deployment clearances.
Spend on Retention Before Extra Angles
As a broad industry guide, basic clamps and adhesive mounting kits commonly fall around –, while more substantial vehicle mounts can run roughly –or more. These are accessory-market ranges, not WOWLS prices. Budget separately for a tether, compatible adapters and replacement wear parts. Material alone is not proof of quality: joint design, fit and documented limits matter.
Buy one dependable setup before building a forest of camera arms. Confirm replacement hardware availability and inspect joints after early test runs. For a wider expedition vision, WOWLS! Auto & Mobility explores vehicle concepts alongside AutoYurt. Treat the camera system as its own engineered accessory—not evidence that a concept vehicle or shelter already offers tested mounting compatibility.
What is the best action camera mount for a 4x4 with a rooftop shelter?
A compact clamp on a rigid, approved rack attachment point is often the best starting point, provided it matches the bar dimensions and stays outside the shelter’s deployment envelope. Keep the camera close to the clamp, add a short independent tether and test for vibration on representative terrain. Suction or adhesive mounts can suit particular surfaces, but require careful preparation and inspection. Never assume the shelter housing is load-bearing or suitable for mounting; follow the rack and shelter manufacturers’ instructions.