// CUSTOM ELECTRIC MOTORBIKES & CYBER BIKES
Electric Dirt Bike Graphics: Custom Wraps With Purpose
The best electric dirt bike graphics do more than make a silent machine look loud. They give its compact bodywork a coherent identity while adding a replaceable layer against scuffs. Whether you want clean race numbers, full-panel artwork or a futuristic winged-wolf livery, the right purchase starts with accurate templates, suitable adhesive and a design that survives the bike’s awkward angles.
Decide early whether you need a replacement graphics kit, personalized artwork on an existing template or a fully custom livery. Those are different services with different. WOWLS! Auto & Mobility takes the custom direction: expressive motorcycle and off-road livery concepts developed with established wrap businesses, starting from your machine and your own idea.
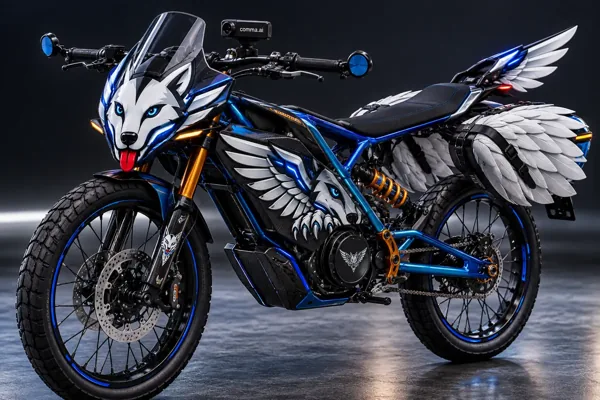
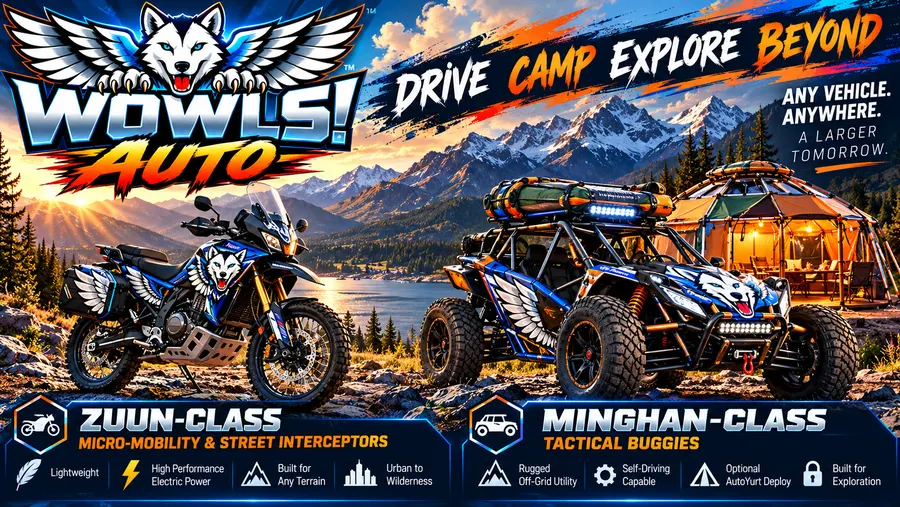
The WOWLS Zuun-Class electric street interceptor has a target weight < 200 lbs, using a titanium and carbon-composite skeletal frame. Its autonomy direction explores comma.ai open-source self driving; this is a proposed integration, not demonstrated motorcycle compatibility, an endorsement, or permission for hands-off riding.
Electric Dirt Bike Graphics: Kit or Custom Livery?
A predesigned kit is usually the simplest route: choose a pattern, confirm your exact model and year, and select any number or color changes. Semi-custom kits add names, sponsor placements and broader palette choices. A bespoke livery starts with a visual concept and builds the composition around your particular panels, accessories and riding use.
As typical industry shopping ranges—not WOWLS quotes—basic kits often sit around –, while personalized or premium full kits commonly reach –. Bespoke design, printing and professional fitting can run roughly –or more. Coverage, template development, material specification and revisions change the total; ask whether installation and replacement panels are included.
Buy for the Plastic, Not Just the Picture
Dirt-bike graphics are generally printed adhesive films with a protective laminate, rather than ordinary decorative stickers. Many off-road plastics have low surface energy, which makes adhesive selection important. Ask the supplier whether its system is intended for your panel material, particularly if you have aftermarket plastics or textured surfaces.
A thicker laminate can improve abrasion resistance, but added thickness also makes tight curves and recessed areas harder to manage. Matte finishes soften reflections; gloss makes saturated colors pop. Neither guarantees freedom from boot wear. Inspect sample prints if possible, and prioritize durable contact zones over elaborate effects that may disappear beneath your knees after several rides.
Make the Artwork Fit an Electric Platform
Electric bikes often have less printable bodywork than their visual silhouette suggests. Exposed frames, battery enclosures, removable covers and open spaces interrupt an otherwise continuous design. Request a proof on your exact panel layout, not just a flattering side-view rendering. Confirm that numbers remain legible and that key artwork does not vanish into a cut line.
Keep ventilation openings, warning labels, identification markings, charging interfaces and service fasteners accessible. A battery cover is not automatically an approved wrapping surface; check the manufacturer’s guidance before covering it. Tell the designer about replacement fenders, lighting, guards or other modifications before production. A model-year match alone does not establish fit once the bodywork changes.
Installation Is Where Good Graphics Earn Their Keep
Start with clean, dry, undamaged panels and remove old adhesive using methods compatible with the plastic. Silicone dressings, oily cleaners and embedded mud can undermine adhesion. Follow the film supplier’s temperature and application instructions rather than assuming every kit needs the same heat, stretching or wet-install technique.
Dry-position each piece first, then work progressively without forcing the artwork out of alignment. Professional fitting becomes especially useful when custom cuts, compound curves or premium finishes are involved. After installation, respect the adhesive’s specified settling time and keep pressure-washer jets away from edges. Ask the printer to retain your approved files so a damaged side panel does not require redesigning the entire bike.
Build a WOWLS Identity, Not Another Generic Pattern
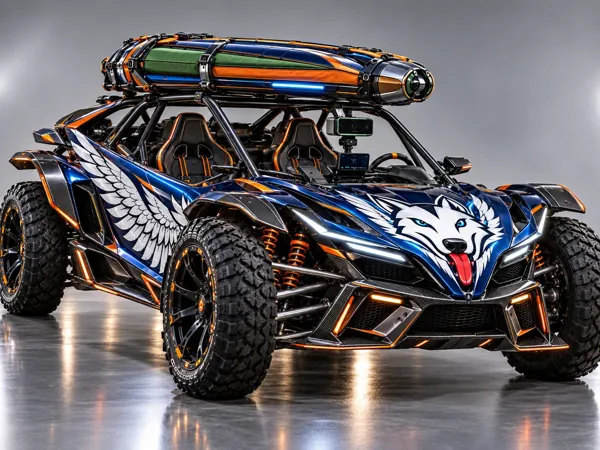
WOWLS! Auto & Mobility brings an independent, anti-corporate attitude to custom motorcycle livery. Its Exotic Mongolian Livery direction offers a starting point for winged-wolf imagery, feather geometry and expedition-inspired markings. The useful design question is how those elements flow across your actual bike—not how many symbols can fit onto it.
WOWLS works hand in hand with established custom wrap businesses and can develop a livery from your own concept. Register interest through /contact and request a private consultation with the custom build team. Bring clear photographs, model details, panel modifications and a budget. The broader Zuun-Class electric two-wheel ecosystem remains a concept, not a production motorcycle available to purchase.
Can I install electric dirt bike graphics myself?
Yes, a well-cut kit on clean, relatively flat panels can be a practical DIY job. The biggest variables are accurate fit, adhesive compatibility and patience around edges. Follow the supplier’s preparation, temperature and settling-time instructions; do not assume generic vinyl tutorials apply to off-road plastics. Professional installation is worth considering for complex shapes, expensive custom artwork or panels that need template adjustments. Before ordering, confirm whether installation mistakes qualify for discounted replacement pieces and whether individual graphics can be reprinted.